
Installing an energy meter is a crucial step for monitoring electrical consumption in residential, commercial, and industrial settings. Modern energy meters provide accurate readings of power usage, helping property owners optimize their electricity consumption and reduce costs. Whether you're upgrading from an analog meter or installing a new system, understanding the proper installation process ensures safe operation and reliable performance. Professional installation of an energy meter requires careful attention to safety protocols, proper wiring techniques, and compliance with local electrical codes.
Understanding Energy Meter Components and Requirements
Essential Components for Installation
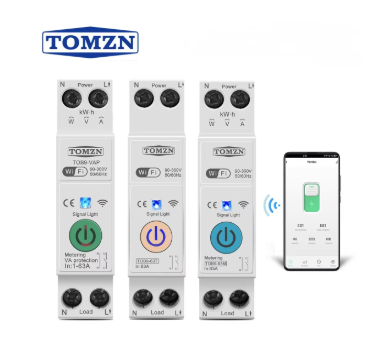
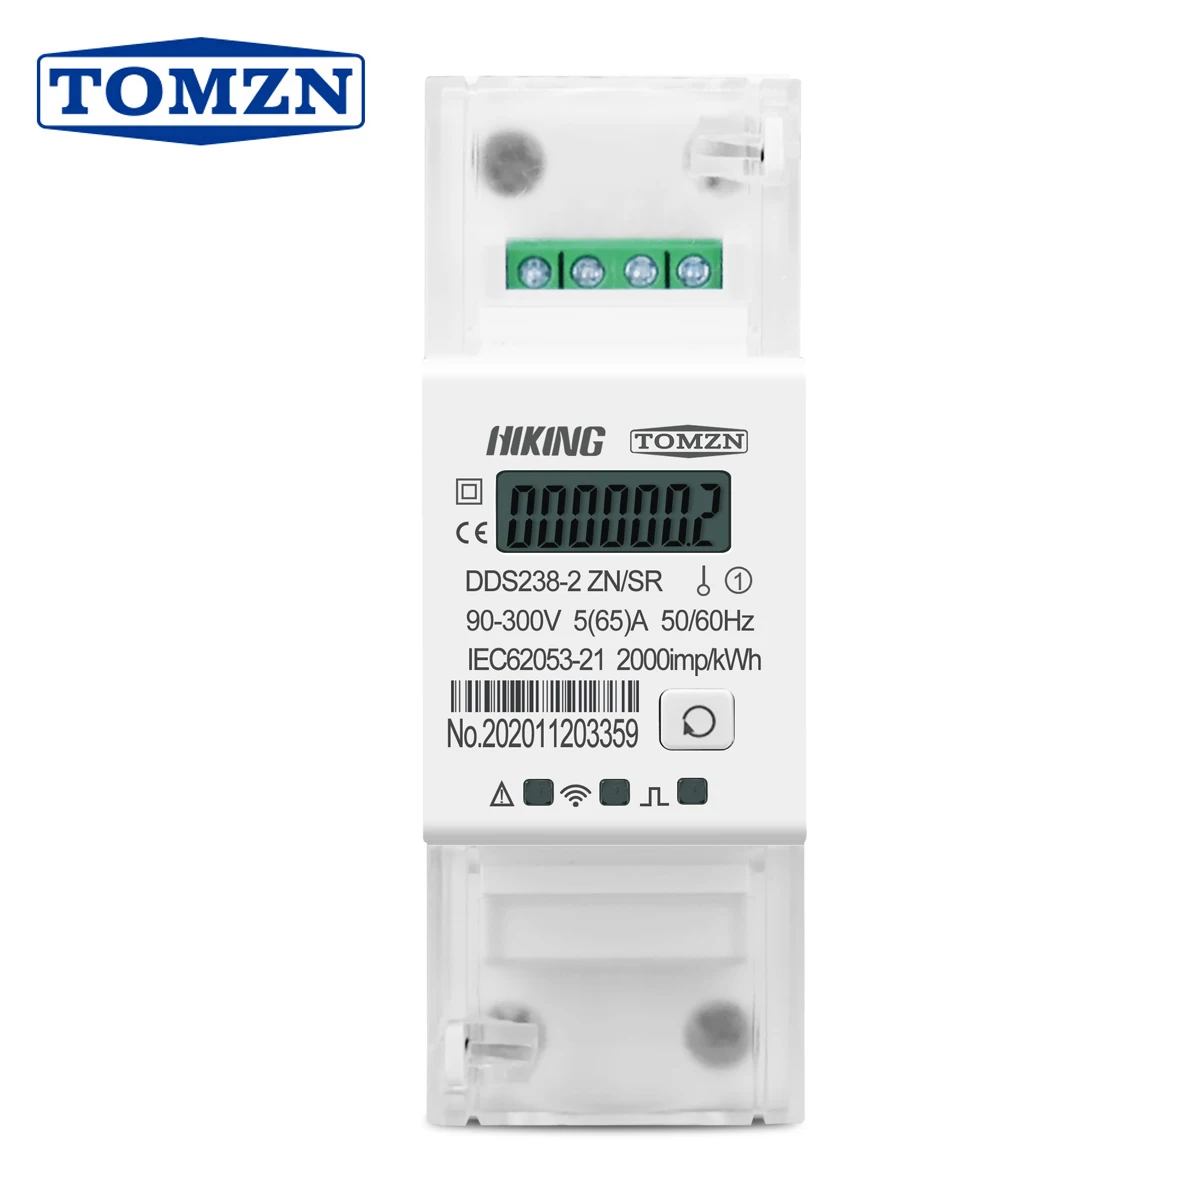
Before beginning any energy meter installation, it's important to identify all necessary components and tools. The primary components include the meter itself, mounting hardware, appropriate wiring conductors, and protective devices such as circuit breakers or fuses. Most modern meters feature digital displays, communication capabilities, and multiple measurement functions. Additionally, you'll need proper electrical tools including wire strippers, screwdrivers, voltage testers, and safety equipment like insulated gloves and safety glasses.
The installation location must meet specific requirements for accessibility, ventilation, and protection from environmental factors. Meters should be installed in dry locations away from direct sunlight and extreme temperatures. Proper clearance around the meter ensures safe maintenance and reading access. Consider the proximity to the main electrical panel and the length of wire runs required for the installation.
Safety Considerations and Code Compliance
Electrical safety is paramount when working with energy meters, as they handle high voltages and currents. Always turn off power at the main breaker before beginning work and verify the absence of voltage using a reliable tester. Local electrical codes dictate specific installation requirements, including wire sizing, grounding methods, and protective device ratings. Familiarize yourself with National Electrical Code (NEC) requirements and any local amendments that may apply to your installation.
Professional electricians recommend obtaining proper permits before installation and having the work inspected by local authorities. This ensures compliance with safety standards and may be required for insurance purposes. Never attempt installation if you're not qualified to work with electrical systems, as improper installation can result in fire hazards, equipment damage, or personal injury.
Pre-Installation Planning and Site Preparation
Site Assessment and Requirements
Proper site assessment begins with evaluating the existing electrical infrastructure and determining the optimal location for the energy meter. The installation site should provide easy access for reading and maintenance while remaining secure from tampering or environmental damage. Measure the available space and ensure it meets manufacturer specifications for clearances and mounting requirements. Consider the routing path for electrical conductors from the meter to the main panel or load centers.
Environmental factors play a crucial role in meter longevity and accuracy. Avoid locations subject to excessive moisture, temperature extremes, or vibration. Indoor installations typically provide better protection, but outdoor installations may be necessary depending on the application. When installing outdoors, ensure adequate weather protection through appropriate enclosures or meter sockets designed for exterior use.
Electrical Load Analysis
Before installing an energy meter, conduct a thorough analysis of the electrical loads it will monitor. This includes calculating total amperage requirements, identifying peak demand periods, and understanding the types of loads present. Single-phase installations are common in residential applications, while three-phase systems are typical in commercial and industrial settings. The meter's current rating must exceed the maximum expected load to ensure accurate measurement and prevent damage.
Document existing wiring configurations and create a connection diagram for the new installation. This planning phase helps identify potential issues before work begins and ensures all necessary materials are available. Consider future expansion needs when selecting meter specifications, as upgrading later may require significant additional work.
Step-by-Step Installation Process
Mounting and Physical Installation
Begin the physical installation by securely mounting the meter base or enclosure according to manufacturer specifications. Use appropriate fasteners for the wall material and ensure the mounting surface is level and structurally sound. DIN rail mounted meters require proper rail installation and secure clip attachment. Wall-mounted units may need backing boards or reinforcement depending on the installation surface.
Position the meter at an appropriate height for easy reading and maintenance, typically between 4 and 6 feet from the floor. Ensure adequate clearance around the meter for ventilation and service access. Mark and drill mounting holes carefully, using proper anchors for the wall material. Double-check alignment before final installation to prevent issues with door fit or display visibility.
Electrical Connections and Wiring
With power confirmed off and properly locked out, begin making electrical connections according to the meter's wiring diagram. Most energy meter installations require connections for line voltage, neutral, and ground conductors. Use wire nuts or terminal blocks rated for the voltage and current levels involved. Strip wire insulation to the proper length, ensuring clean, tight connections without exposed copper.
Follow proper color coding conventions for wire identification, with black or red for hot conductors, white for neutral, and green or bare copper for ground. Route wires neatly and secure them to prevent strain on terminals. Use cable clamps or strain reliefs where conductors enter the meter enclosure. Verify all connections are tight and properly insulated before proceeding to testing phases.
Testing and Commissioning Procedures
Initial System Testing
After completing all physical and electrical connections, perform comprehensive testing before energizing the system. Use a multimeter to verify continuity and proper connections between terminals. Check that all grounding connections are solid and meet code requirements. Inspect the installation for any loose hardware, exposed conductors, or other safety concerns that need correction before power-up.
Gradually restore power to the system while monitoring for any unusual conditions. Start with the main breaker off and verify proper voltage readings at the meter input terminals. Check phase rotation for three-phase installations and ensure balanced voltage readings across all phases. Look for any signs of overheating, arcing, or other abnormal conditions during initial energization.
Calibration and Verification
Modern energy meters typically require minimal calibration, but verification of accuracy is important for reliable monitoring. Compare meter readings with known loads or reference standards to ensure proper operation. Test all meter functions including energy measurement, demand recording, and any communication features. Document baseline readings and settings for future reference and troubleshooting.
Configure any programmable parameters such as communication addresses, display options, or alarm thresholds according to system requirements. Test remote communication capabilities if the meter includes Modbus or other communication protocols. Ensure proper data logging and storage functions are operating correctly for applications requiring historical energy data.
Maintenance and Troubleshooting
Regular Maintenance Procedures
Proper maintenance extends the life and accuracy of energy meter installations. Establish a regular inspection schedule to check for loose connections, corrosion, or physical damage. Clean meter displays and enclosures periodically to ensure clear visibility and proper ventilation. Verify that all connections remain tight, as thermal cycling can cause gradual loosening over time.
Monitor energy consumption patterns to identify unusual variations that might indicate meter problems or changes in electrical loads. Keep records of meter readings and maintenance activities for trend analysis and warranty documentation. Replace batteries in meters with backup power systems according to manufacturer recommendations to maintain programming and data integrity.
Common Installation Issues and Solutions
Several common issues can occur during energy meter installations that require troubleshooting skills. Incorrect wiring connections may result in inaccurate readings or meter malfunctions. Double-check all wire connections against the manufacturer's diagram and verify proper phase sequence for polyphase installations. Loose connections can cause voltage drops, overheating, and erratic meter behavior.
Communication problems with smart meters often stem from improper network configuration or physical connection issues. Verify communication wiring, network addresses, and protocol settings when troubleshooting data transmission problems. Environmental factors such as electromagnetic interference or extreme temperatures may affect meter performance and require mitigation measures or relocation.
FAQ
What tools are required for energy meter installation
Essential tools include wire strippers, screwdrivers, voltage testers, multimeter, level, drill with bits, and safety equipment including insulated gloves and safety glasses. Professional installation may require specialized tools for current transformer connections or communication system setup.
How long does a typical energy meter installation take
Installation time varies depending on complexity, but most single-phase residential installations take 2-4 hours including preparation, mounting, wiring, and testing. Commercial three-phase installations may require a full day or more depending on system complexity and local inspection requirements.
Can I install an energy meter myself or do I need an electrician
Energy meter installation involves working with high voltage electrical systems and typically requires a licensed electrician to ensure safety and code compliance. Many local jurisdictions require professional installation and inspection for legal and insurance purposes.
What should I do if my energy meter displays error codes after installation
Error codes typically indicate wiring problems, communication issues, or configuration errors. Consult the manufacturer's manual for specific error code meanings and recommended solutions. Common fixes include verifying connections, checking communication settings, and ensuring proper grounding. Contact technical support if problems persist after basic troubleshooting.